
Install Ubuntu on SpacemiT K3 boards
Flashing initial firmware on the board
By default, your SpacemiT K3 board is likely to ship with a Bianbu installation, and an outdated firmware. It is necessary to update the firmware to install official Ubuntu images.
Note
SpacemiT also provides all-in-one images with firmware and vendor Ubuntu. Those images are only supported by SpacemiT. If you wish to install one of those images, see:
Putting the board in “flash mode”
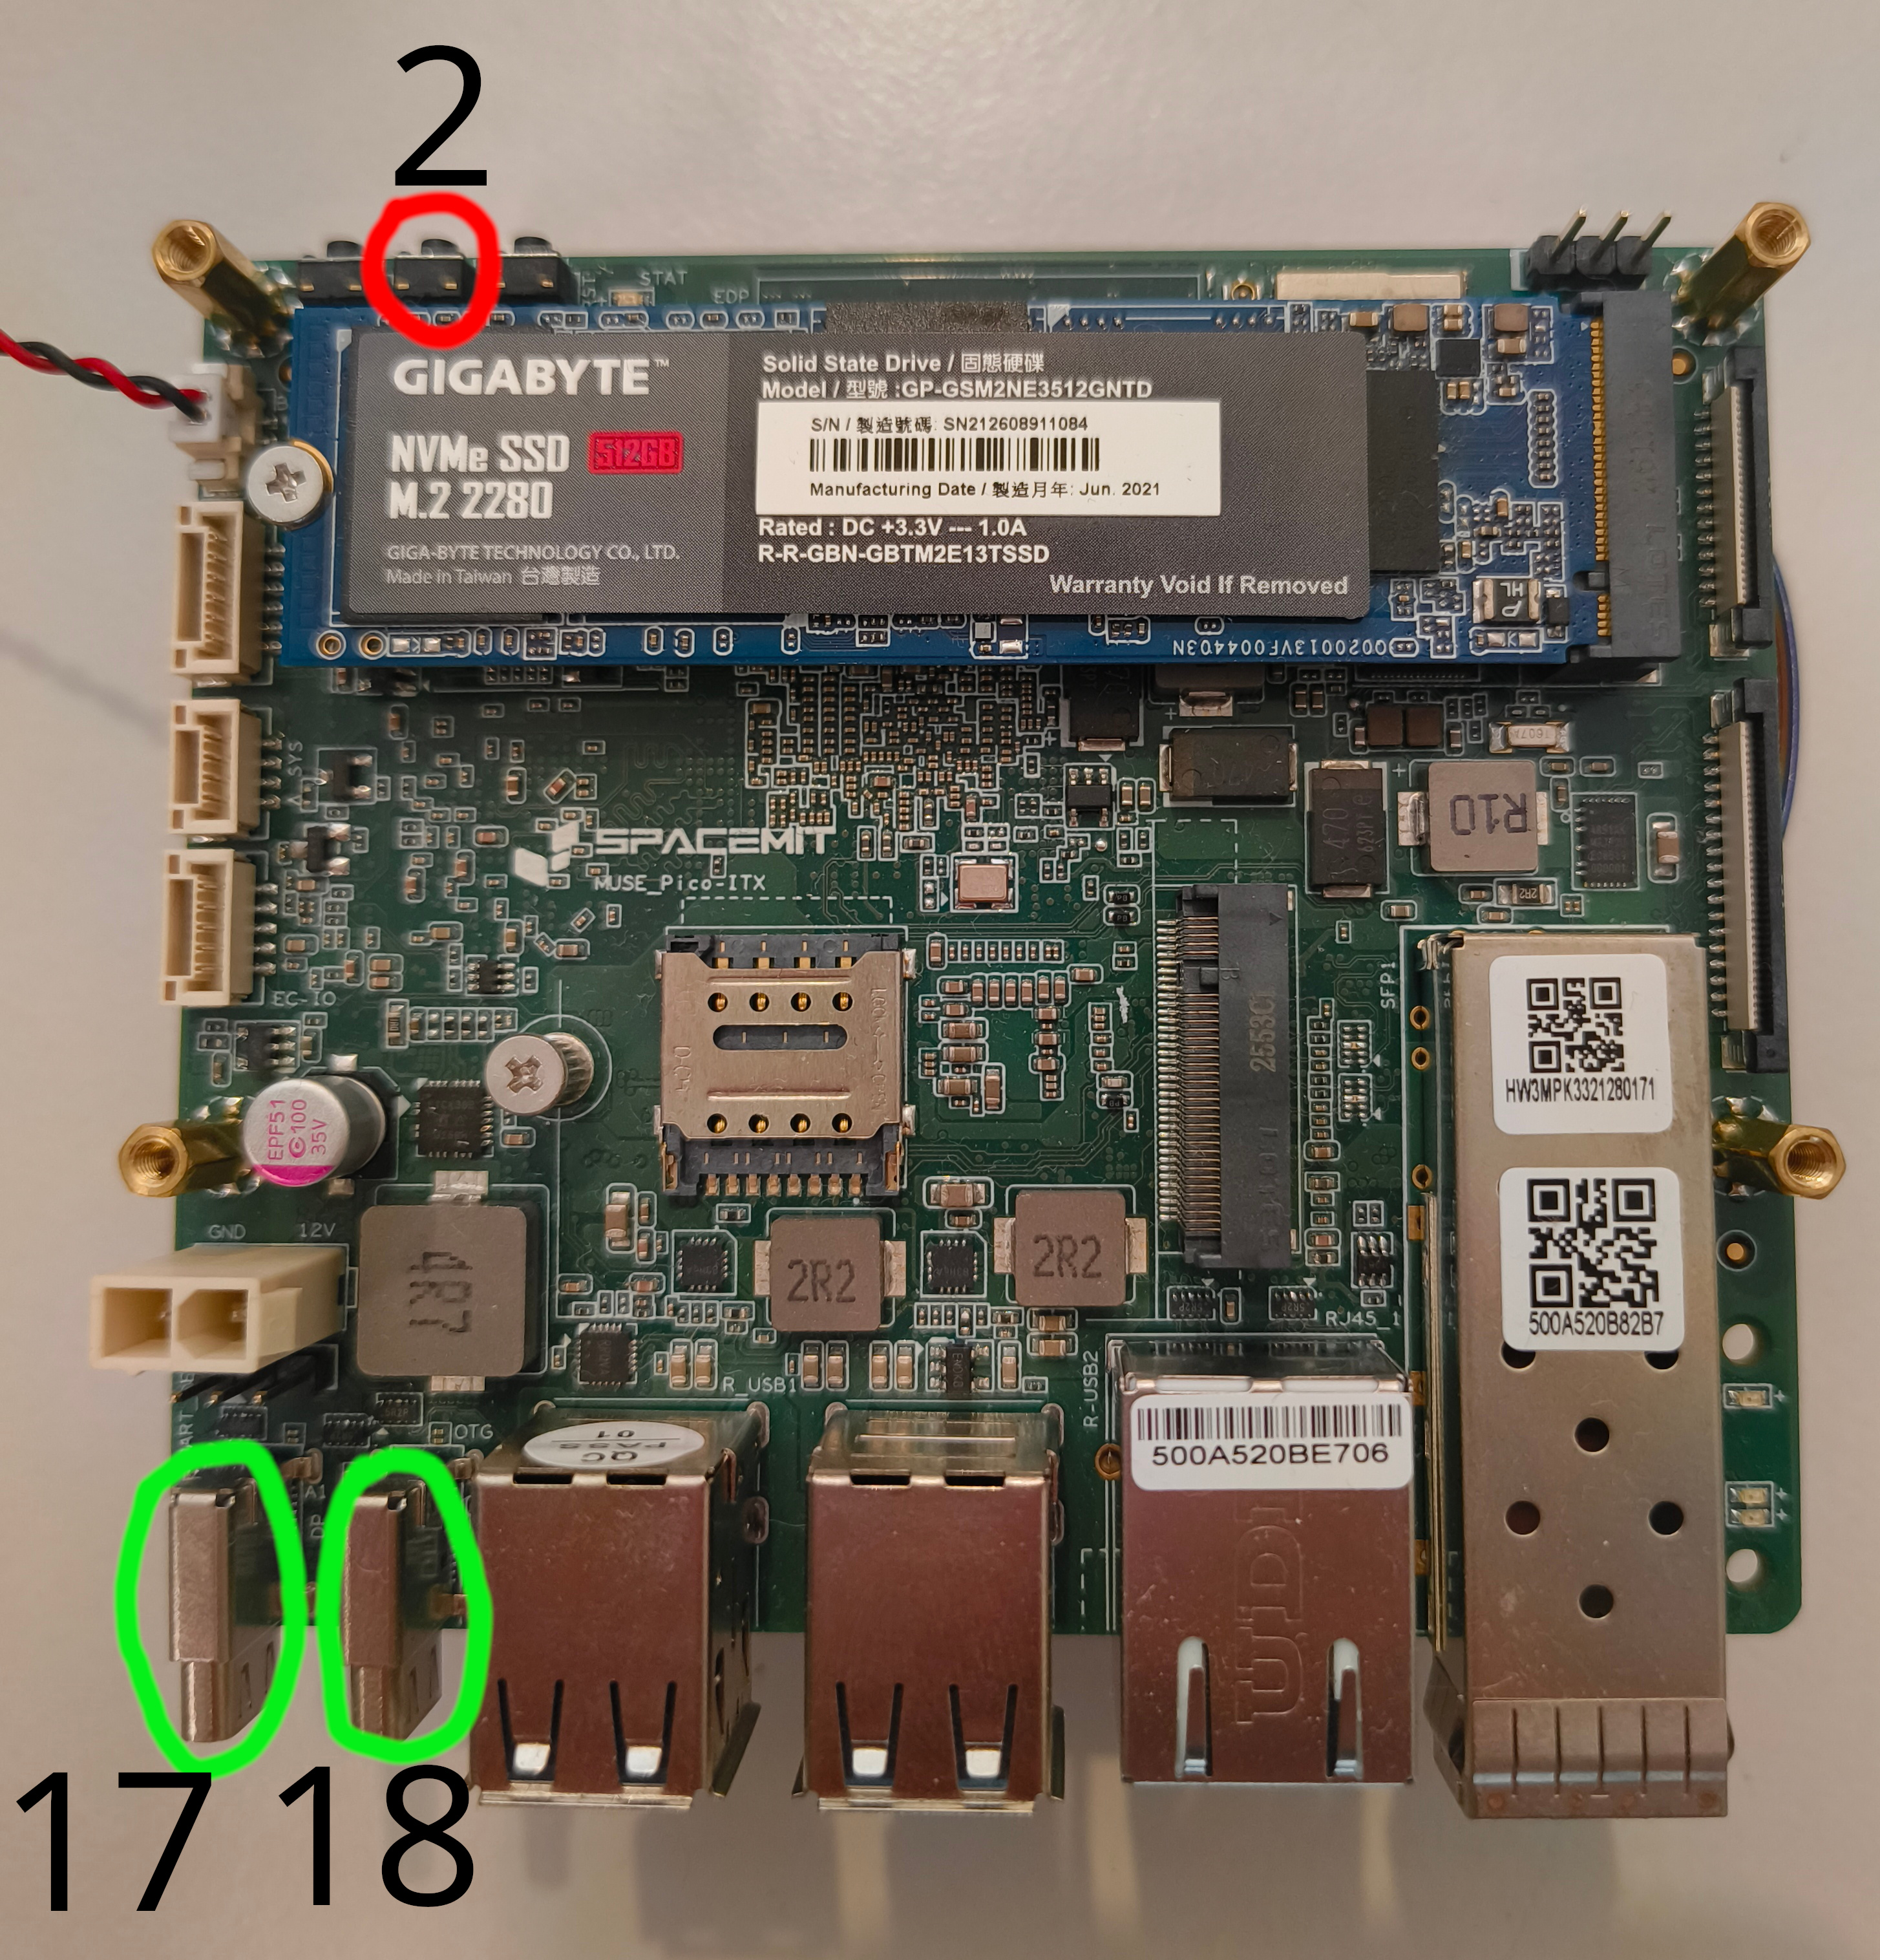
Power off the board, then press and hold the “FDL Flashing button” (2). While holding, connect an USB-C power cable to the first USB-C connector (17). Release the “FDL Flashing button” (2). The board is now in flashing mode.
Connect an USB Type-C cable to your host computer and the connector (18) on the board.
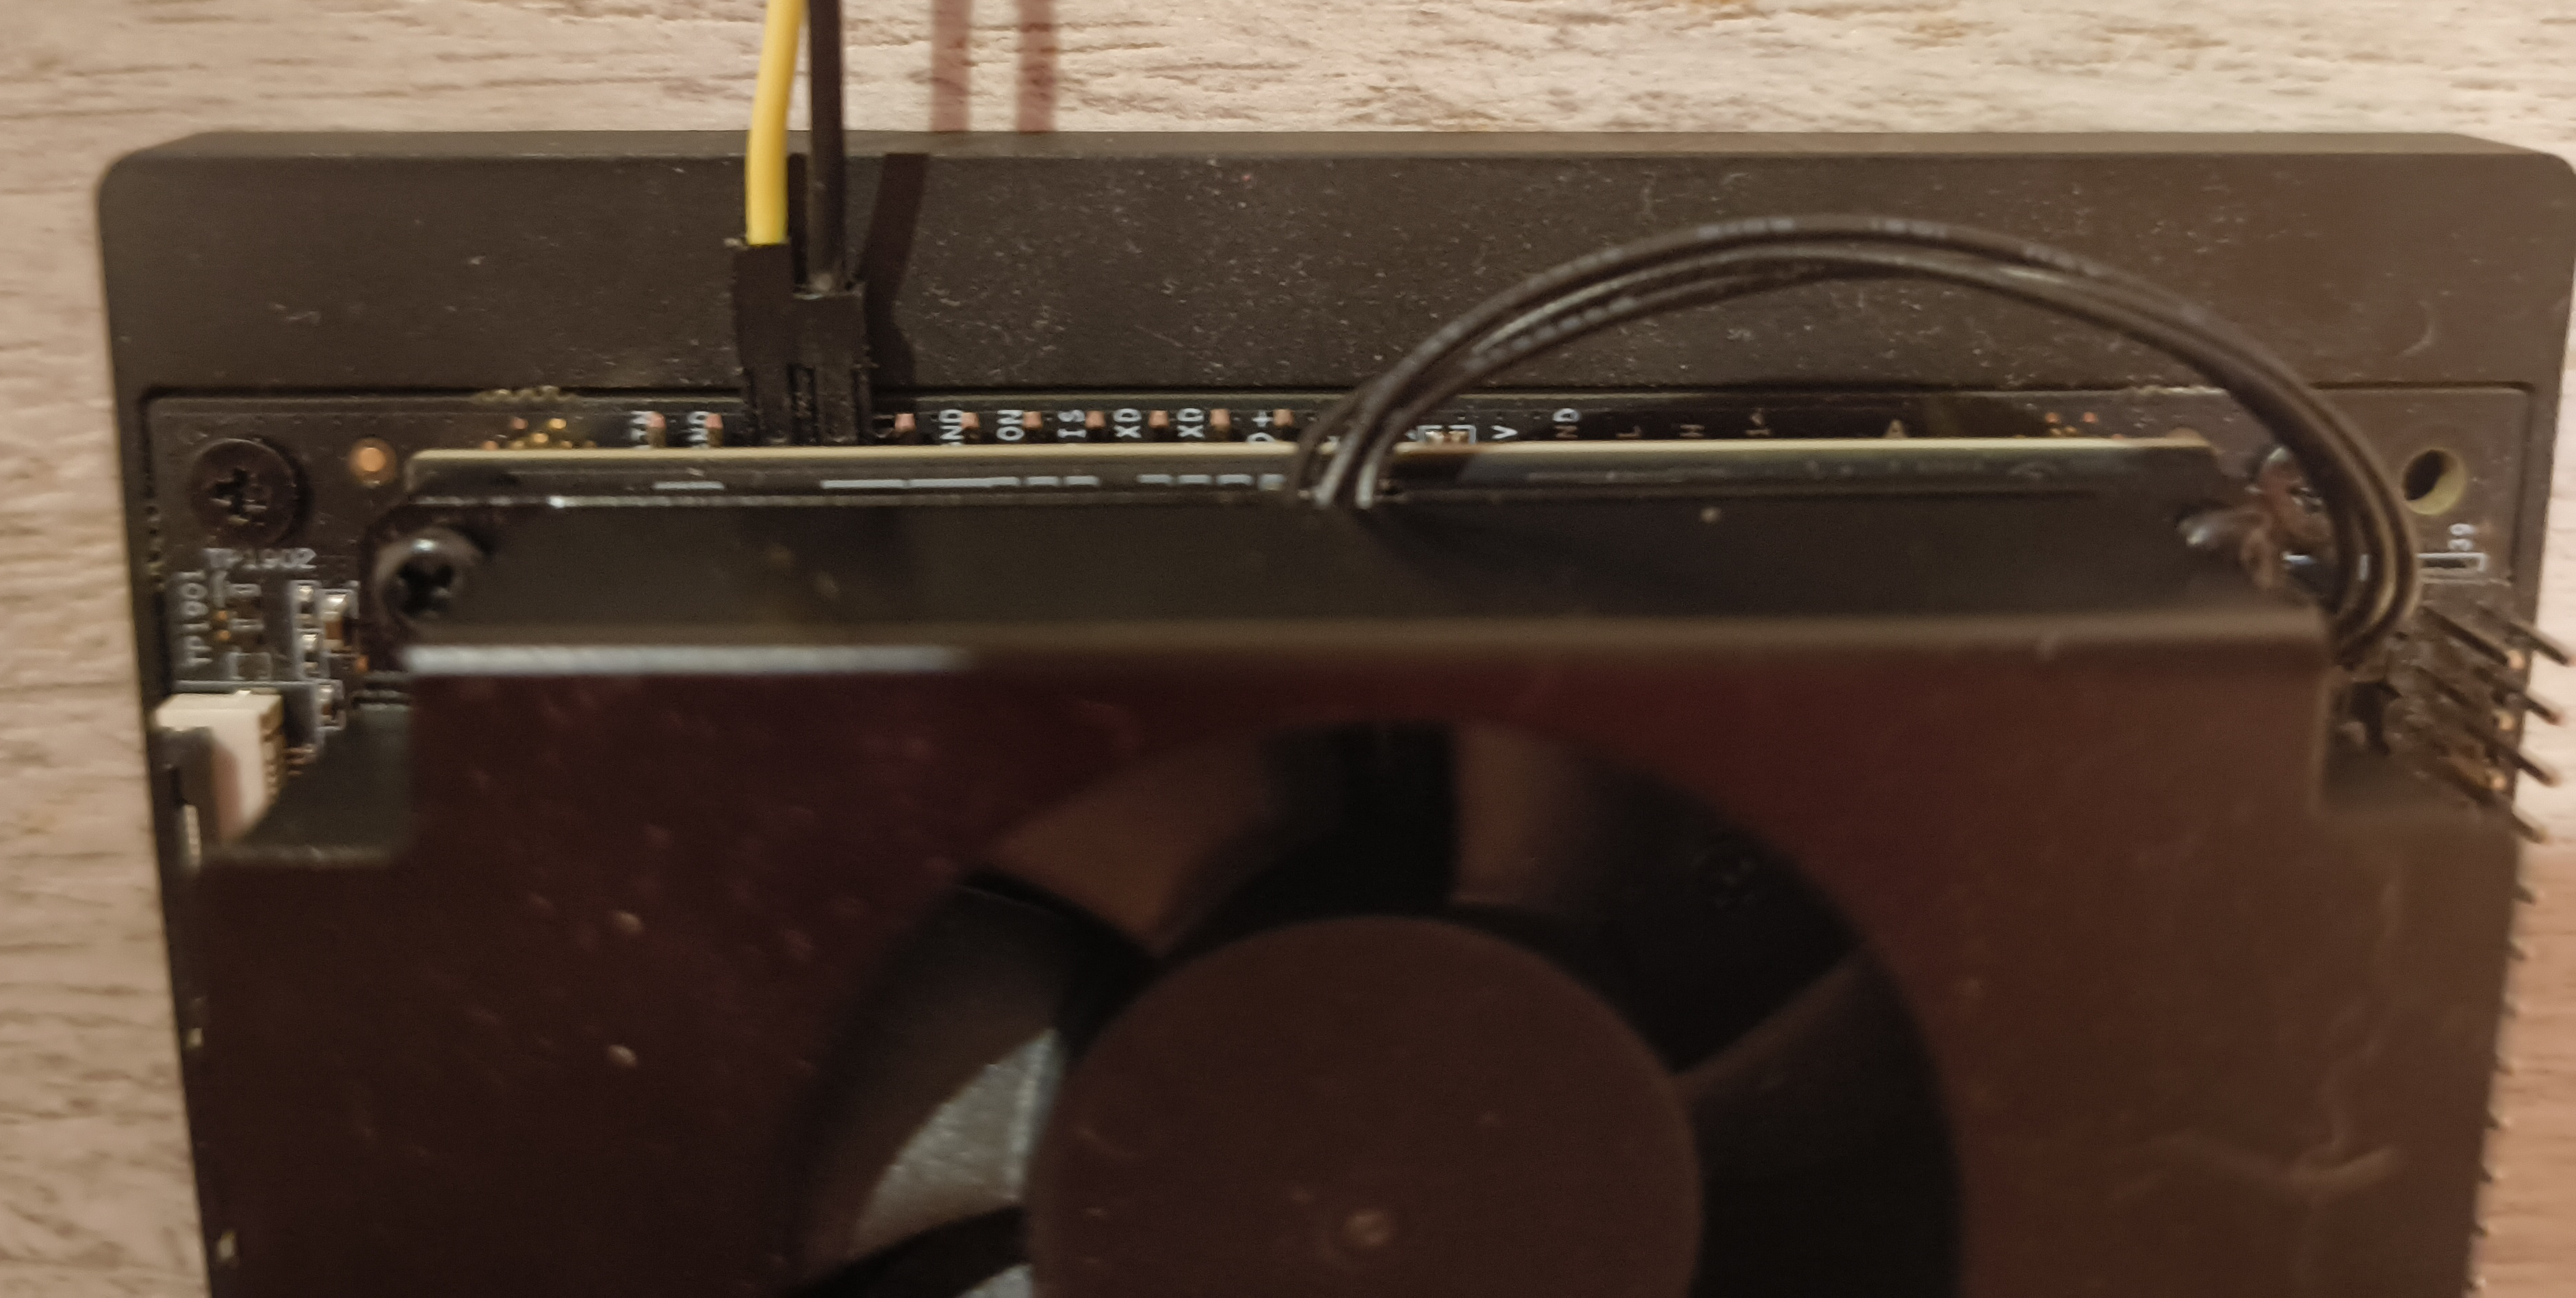
The CoM260 has no dedicated flashing button. You will need a push button or jumper wire to short pins on the 12-pin debug header of the carrier board.
Power off the board, then short the FORCE_RECOVERY (“FC_REC”) pin (connected to a yellow wire on the image) to a “GND” pin (for example, the one connected to a black wire on the image). While shorting the pins, power the board on through the 12V DC power jack. Release the button. The board is now in flashing mode.
Connect an USB Type-C cable to your host computer and to the USB-C connector on the carrier board. This connector does not provide power to the board.
Flashing firmware from a host computer using Ubuntu packages
A simple script is available on GitHub to flash the necessary firmware on the board.
On your host computer, with the K3 board connected and in flash mode:
curl https://raw.githubusercontent.com/canonical/spacemit-k3-flash-firmware/refs/heads/main/flash-k3-firmware.sh | bash
Warning
The firmware flashing script is experimental. Please report any issue on the GitHub repository. The Ubuntu RISC-V team is trying hard to provide the best user experience on the SpacemiT K3 for official images, but unfortunately firmware updates are necessary.
The script will download firmware packages from Ubuntu repositories, extract the binary payloads, and use SpacemiT tools to flash the board.
Installing an official Ubuntu image
Warning
Official support for the SpacemiT K3 starts with Ubuntu 26.10 Stonking Stingray release. Ubuntu 26.04 LTS might get support at a later point in time.
SpacemiT’s image has a vendor SpacemiT kernel that is not provided by Canonical or Ubuntu, and carries patches that are not upstream. Some Canonical software might not work with this kernel, and if you choose this image please report issues directly to SpacemiT. You might want to install an official Ubuntu image on the board.
Note
Removing stale cloud-init partition
If you have previously installed a SpacemiT vendor Ubuntu image, you will need to follow this step. Otherwise, skip it.
The SpacemiT image adds a cloud-init partition to the internal UFS storage.
This partition interferes with the installer used for Ubuntu images, therefore it needs to be removed.
Log in to the SpacemiT image (user and password ubuntu/ubuntu) and remove the partition:
$ sudo fdisk /dev/sda

# Print the partition table to check that you are deleting the
# correct, 64M cloud-init partition
Command (m for help): p

Disk /dev/sda: 119.27 GiB, 128068878336 bytes, 31266816 sectors
...

Device     Start      End  Sectors   Size Type
/dev/sda1   3072    28671    25600   100M Microsoft basic data
/dev/sda2  28672    45055    16384    64M Microsoft basic data
/dev/sda3  45056 31266782 31221727 119.1G Microsoft basic data

Command (m for help): d
Partition number (1-3, default 3): 2

Partition 2 has been deleted.
Command (m for help): w
The partition table has been altered.
Syncing disks.
Installing from a USB thumb drive
With the updated EDK2 firmware, you should now be able to boot from a USB thumb drive. You can download and burn a preview Ubuntu image for the board.
When selecting a desktop image, you will need to connect a keyboard, mouse and screen to the board. For a server install, you can use the serial console (UART) or keyboard and screen as well.
Connecting a screen
Connect a monitor with DisplayPort input to the full-featured USB-C connector (the one on the edge of the board) with a full-featured USB-C cable. A monitor that delivers 65 W or more over USB-C can power the board and carry the display signal over the same cable. The board also has an eDP connector for embedded panels.
Connect a monitor to the DisplayPort Type-A connector on the carrier board. The board also has a MIPI DSI FPC connector for LCD panels.
Connecting the serial console
For a server install, you can drive the installer from the serial console. Both boards expose it on a debug header, at 115200 baud; see Connect to a UART console for general instructions on connecting a USB-to-TTL adapter.
The serial console is exposed on the UART pin header (labeled “UART DEBUG”) on the board. Connect the TX, RX and GND pins to your USB-to-TTL adapter.
The serial console is exposed on the 12-pin debug header of the carrier board. From left to right, UART_TXD is pin 8, UART_RXD is pin 9, and GND is available on pins 2, 4, 6 (any will work). Connect those pins to your USB-to-TTL adapter.
Booting the installer
Then, reboot the board, press F2 and select the USB thumb drive in “Boot Manager” as a boot target.
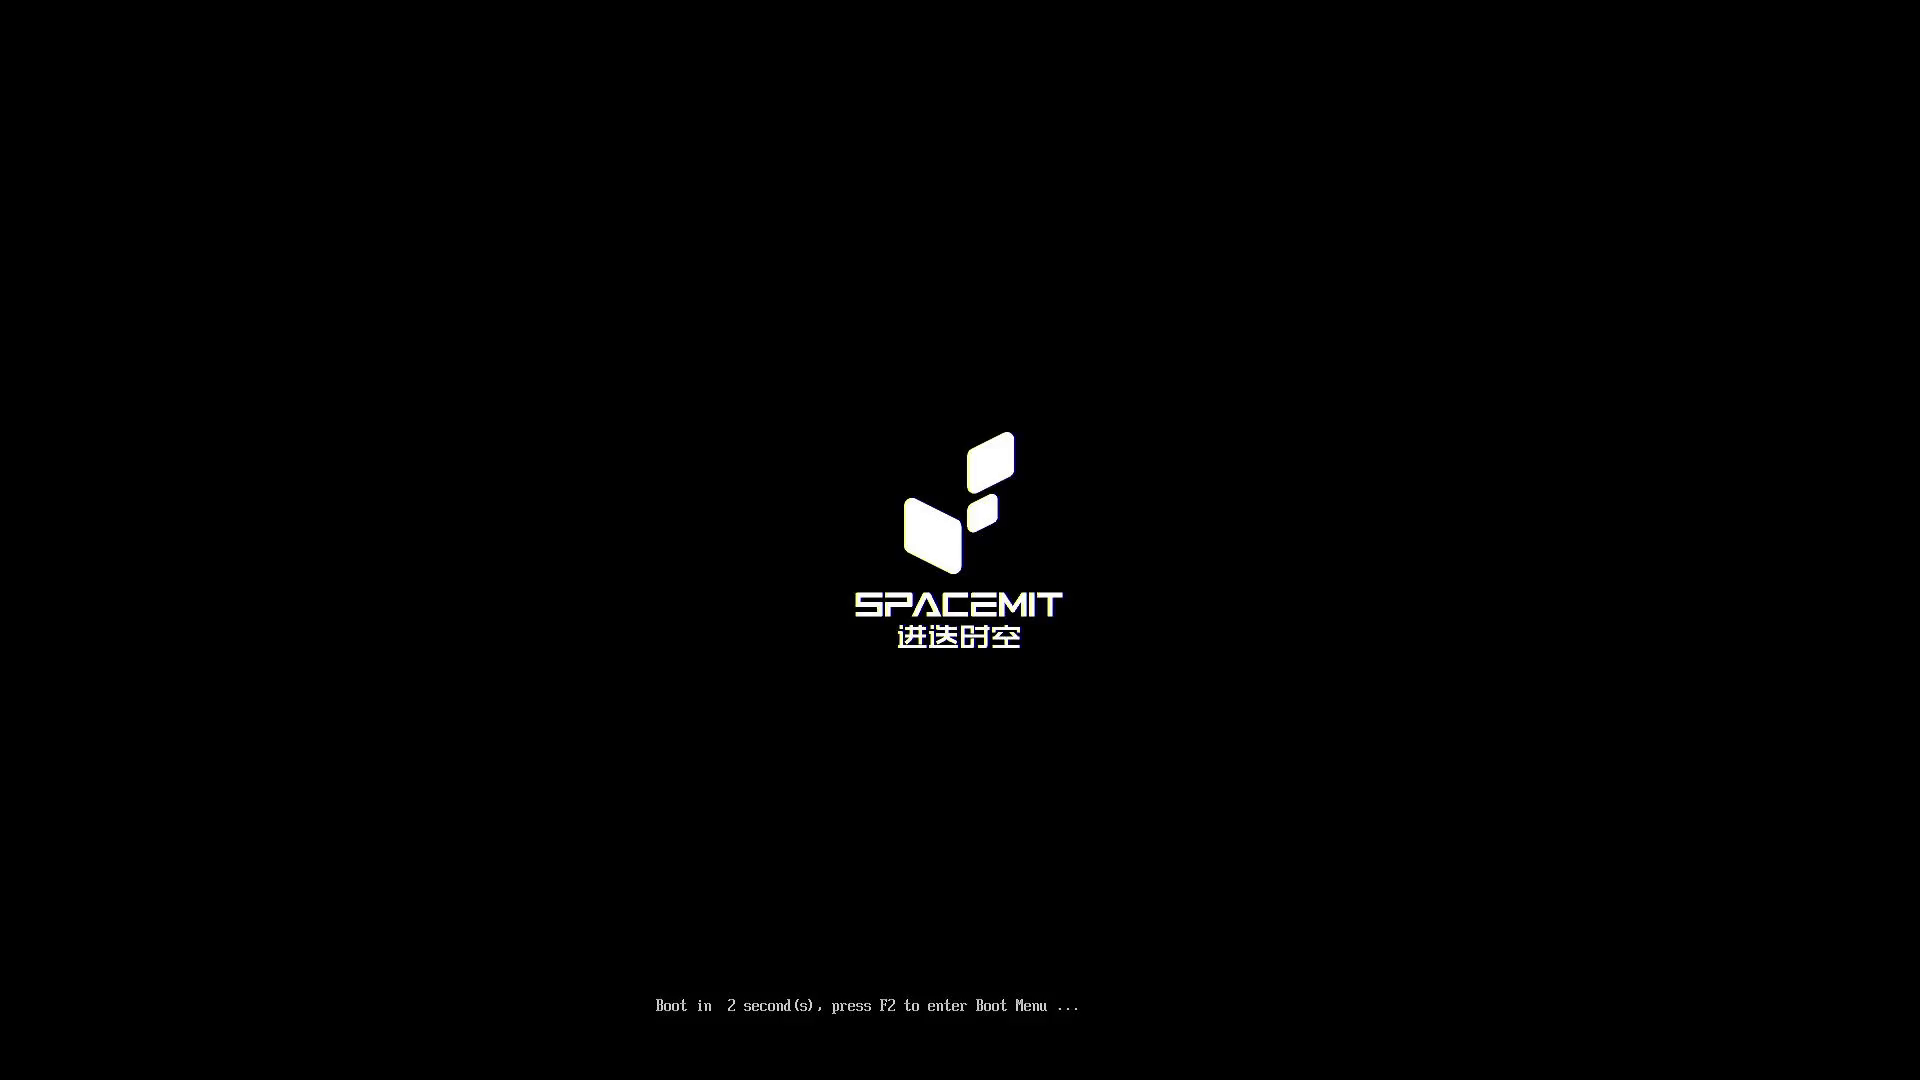
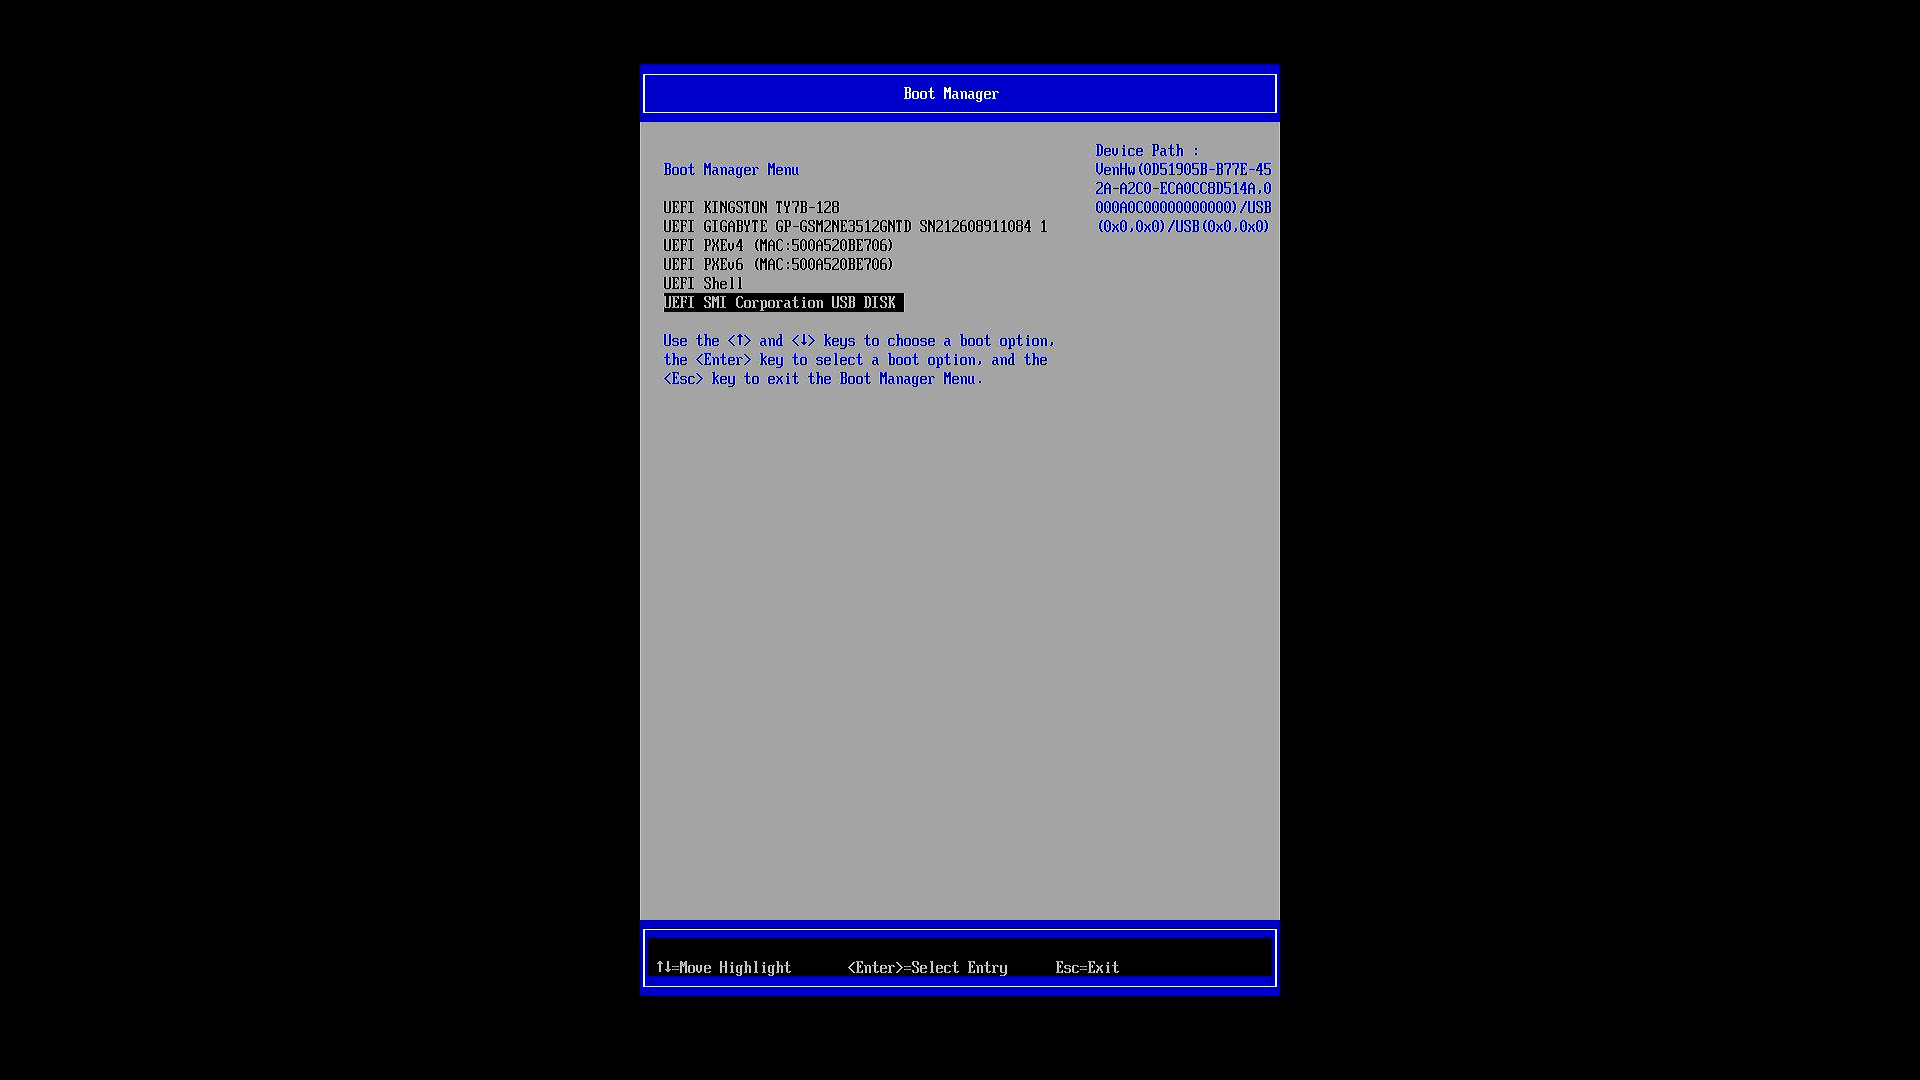
This should boot into the Ubuntu installer image. Below are examples when selecting Ubuntu Desktop. For Desktop, it can take a while for the board to reach graphical interface, please be patient (around 3-5 minutes).
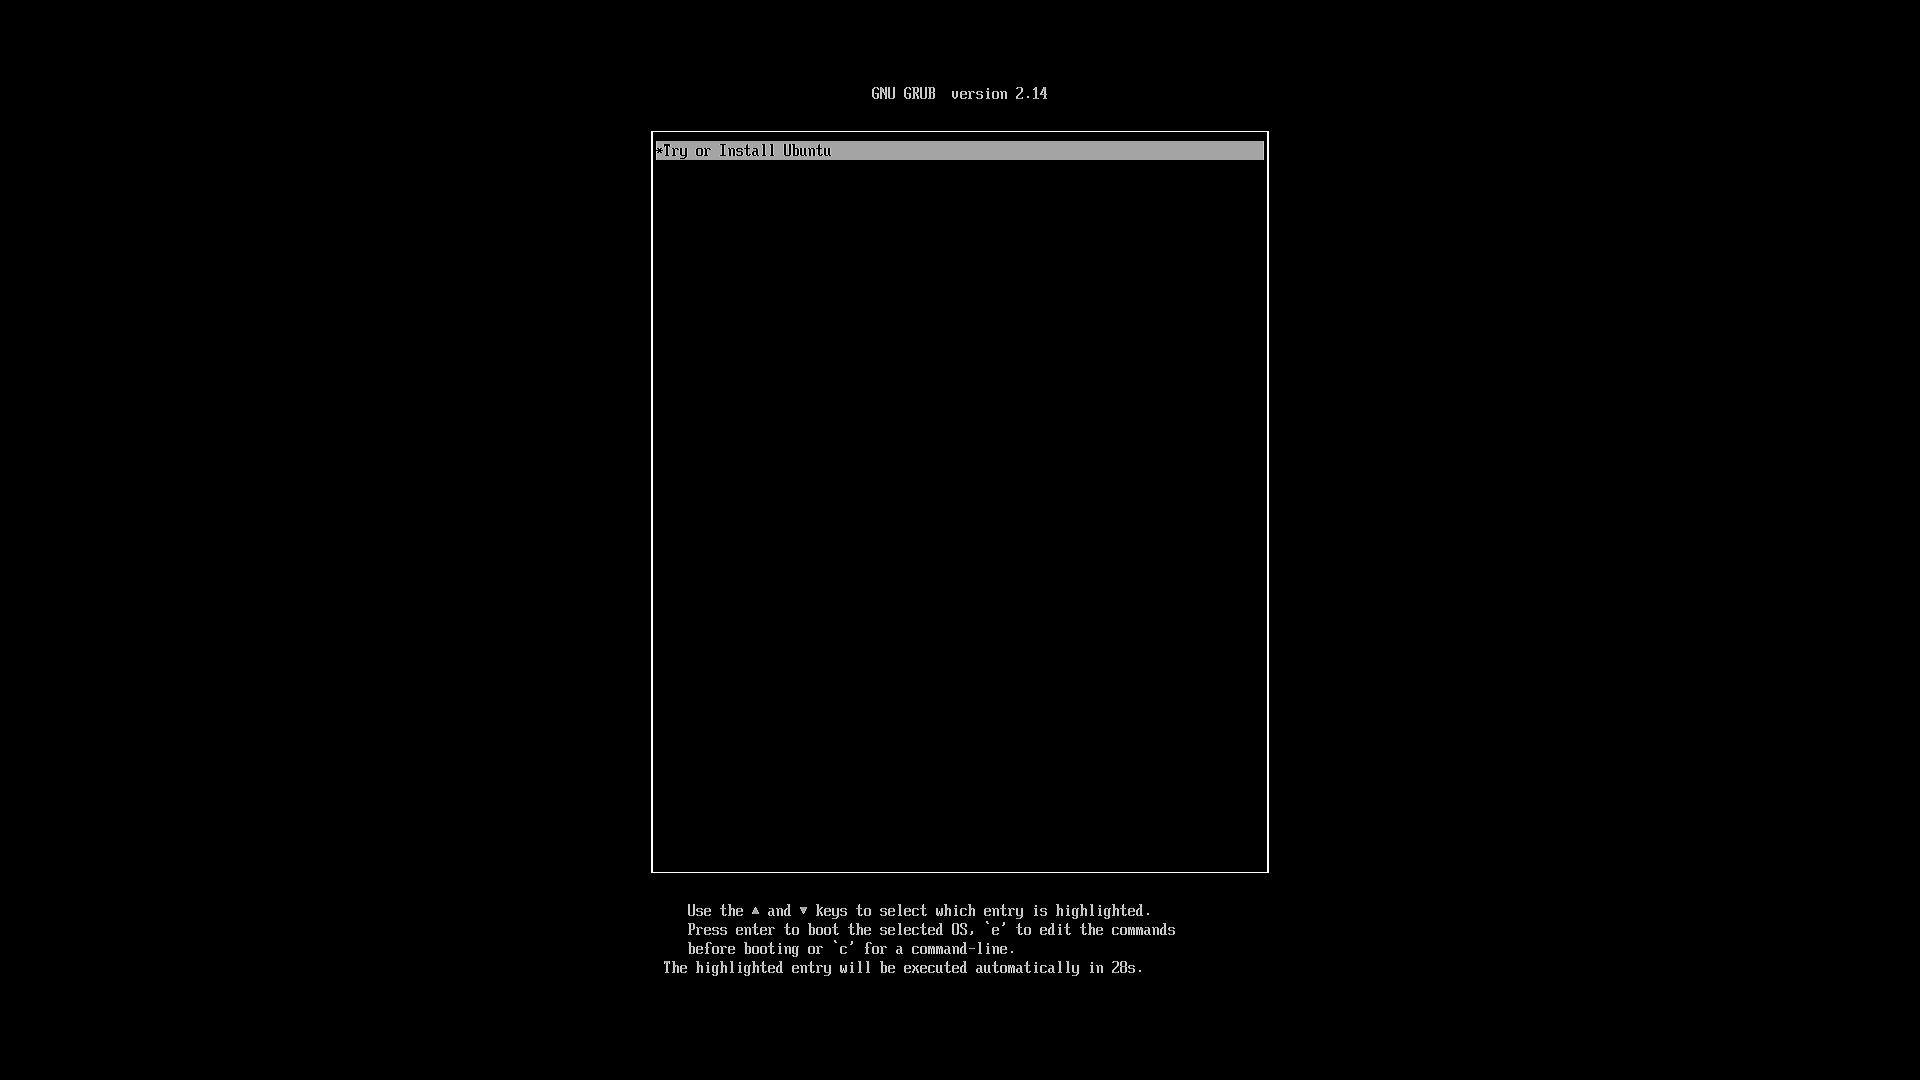
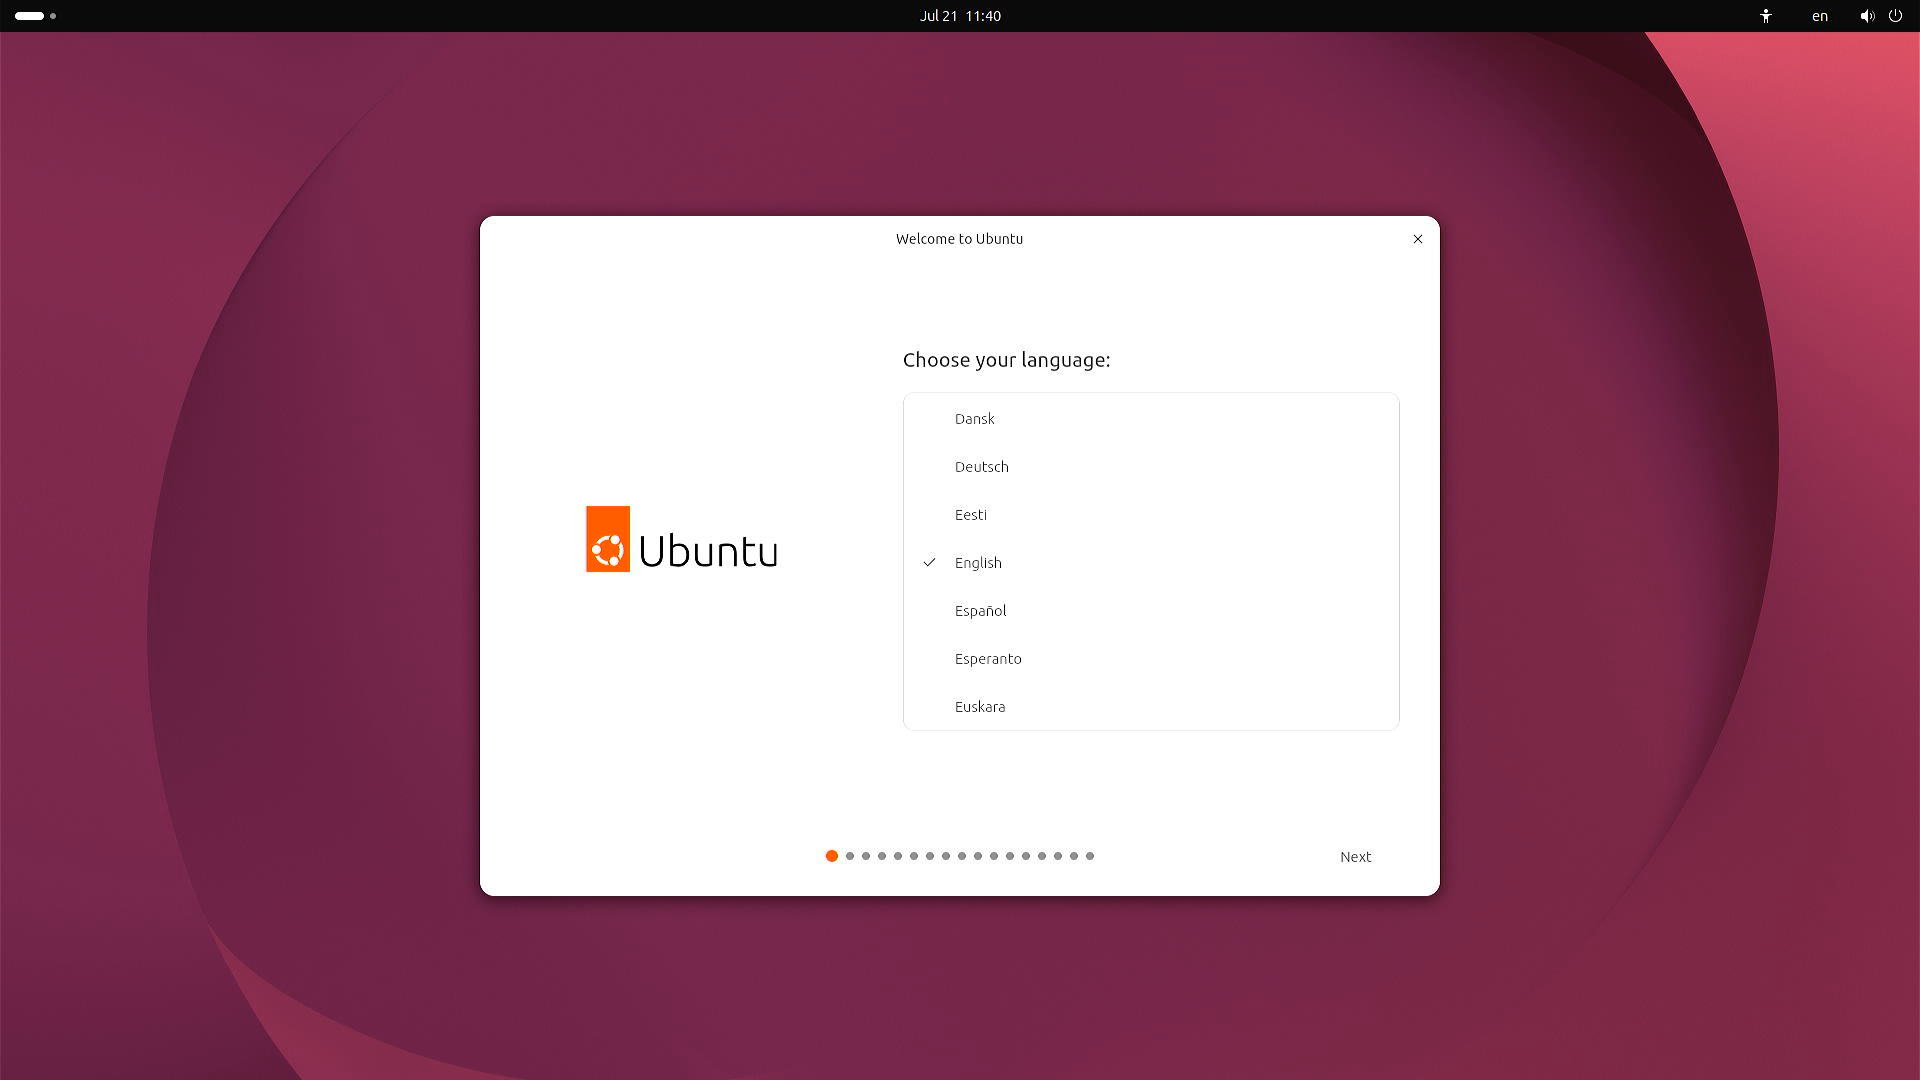
Afterwards, you can follow the installer to install on the on-board UFS storage
or an NVMe drive. The UFS should be sda - KINGSTON.
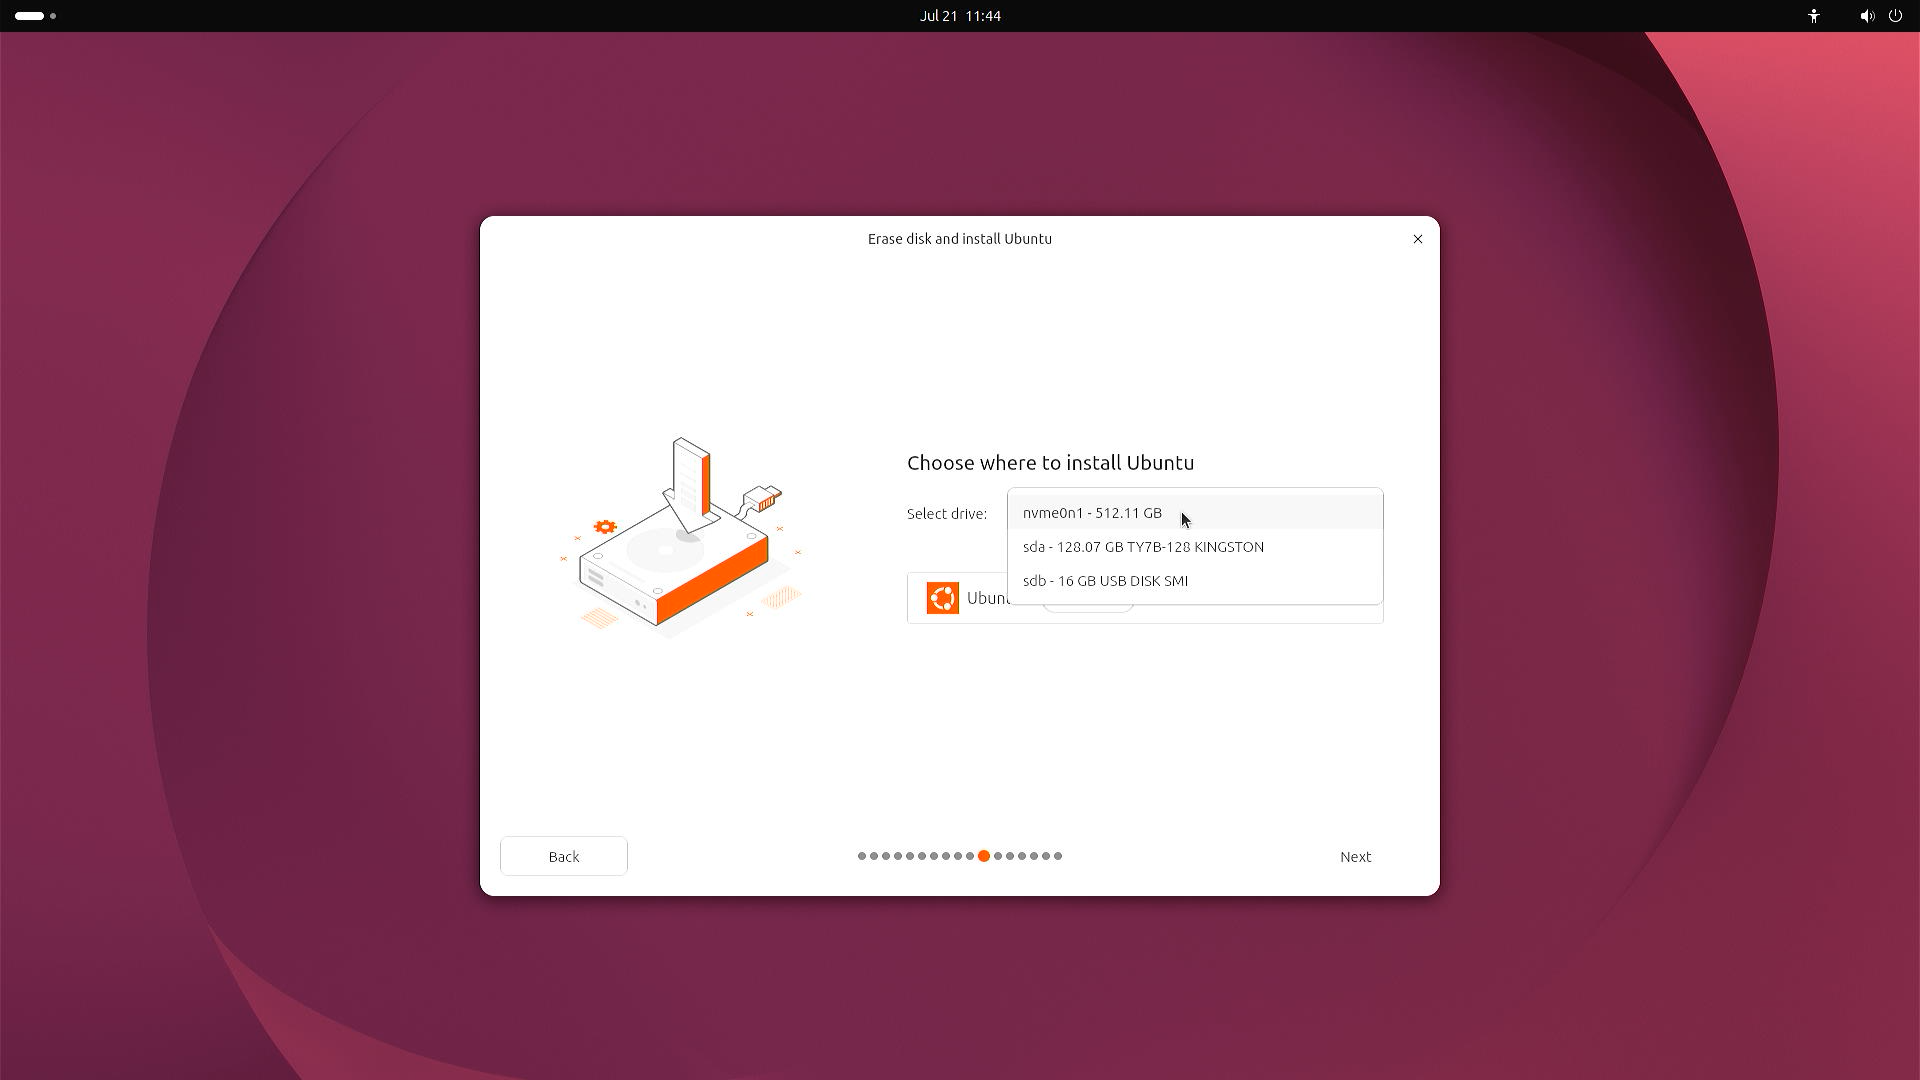
Follow through the installation and reboot into your new installation.
Updating EDK2 and board firmware
For now the traditional way of updating firmware (fwupd) is not available for the K3 boards.
SpacemiT has packaged their firmware into traditional deb Ubuntu packages.
The Ubuntu RISC-V team has applied modifications suitable for official Ubuntu images to those packages,
available on the ubuntu-risc-v-team/k3 ppa.
sudo add-apt-repository ppa:ubuntu-risc-v-team/k3
sudo apt update
# Install spacemit-firmware metapackage to keep all firmware updated
# The metapackage contains a flasher script that will re-flash and verify
# the firmware directly on the board
sudo apt install spacemit-firmware